
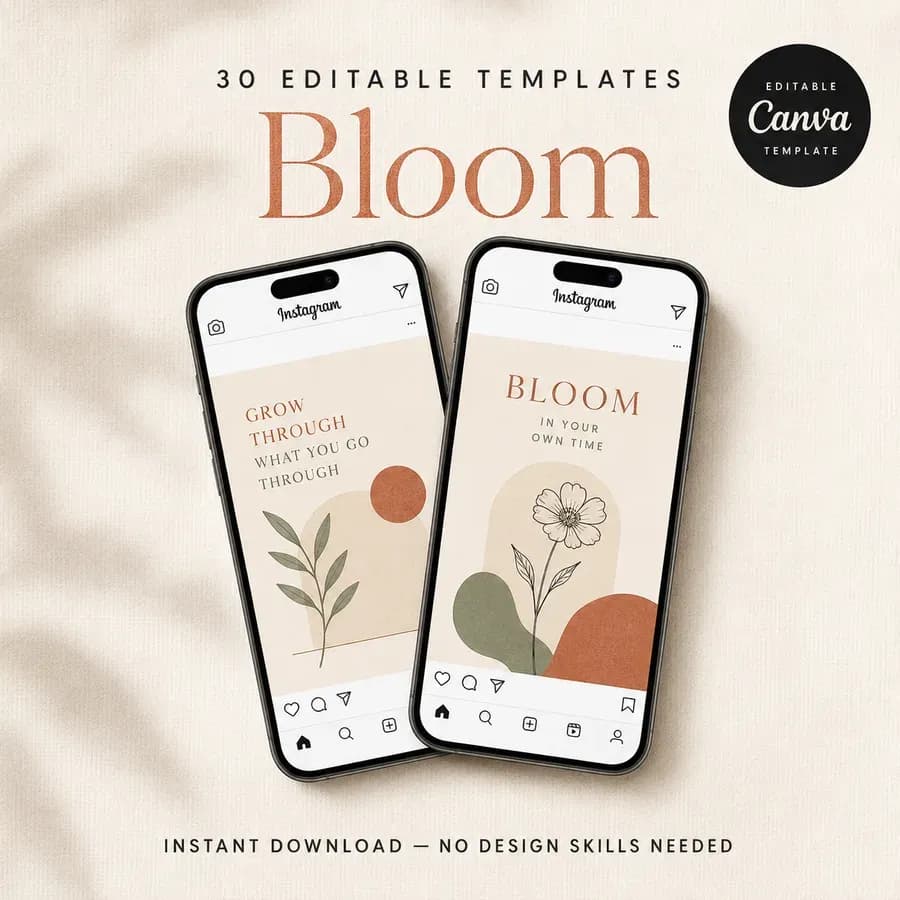
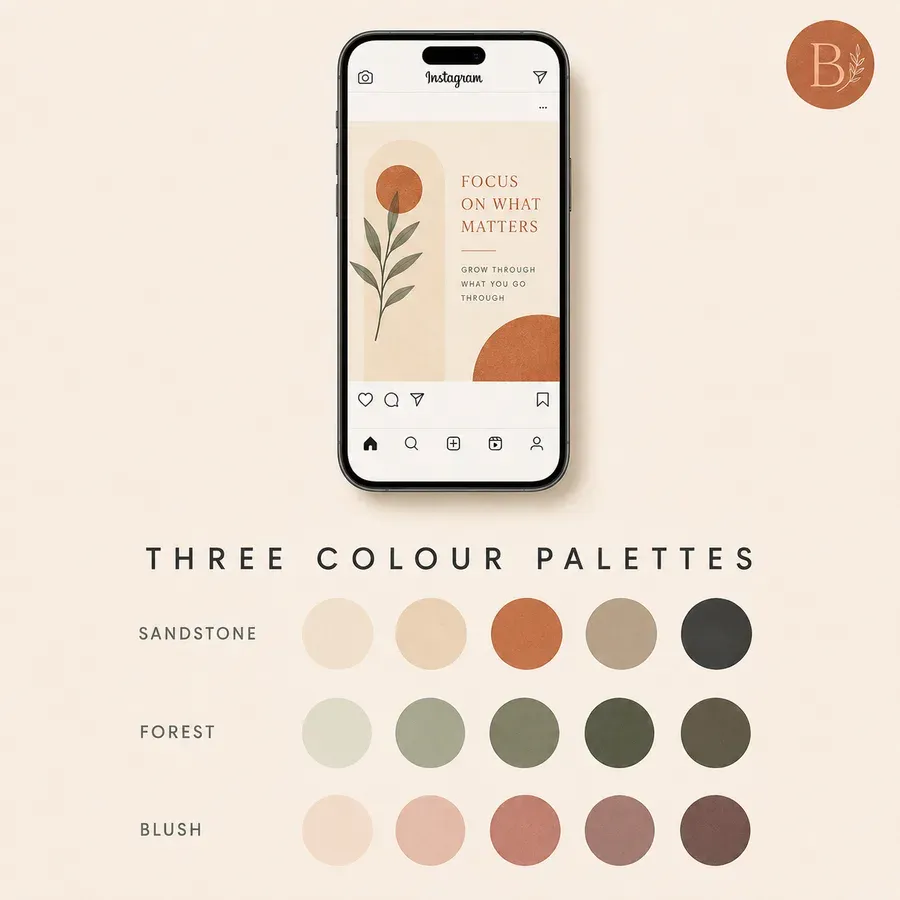
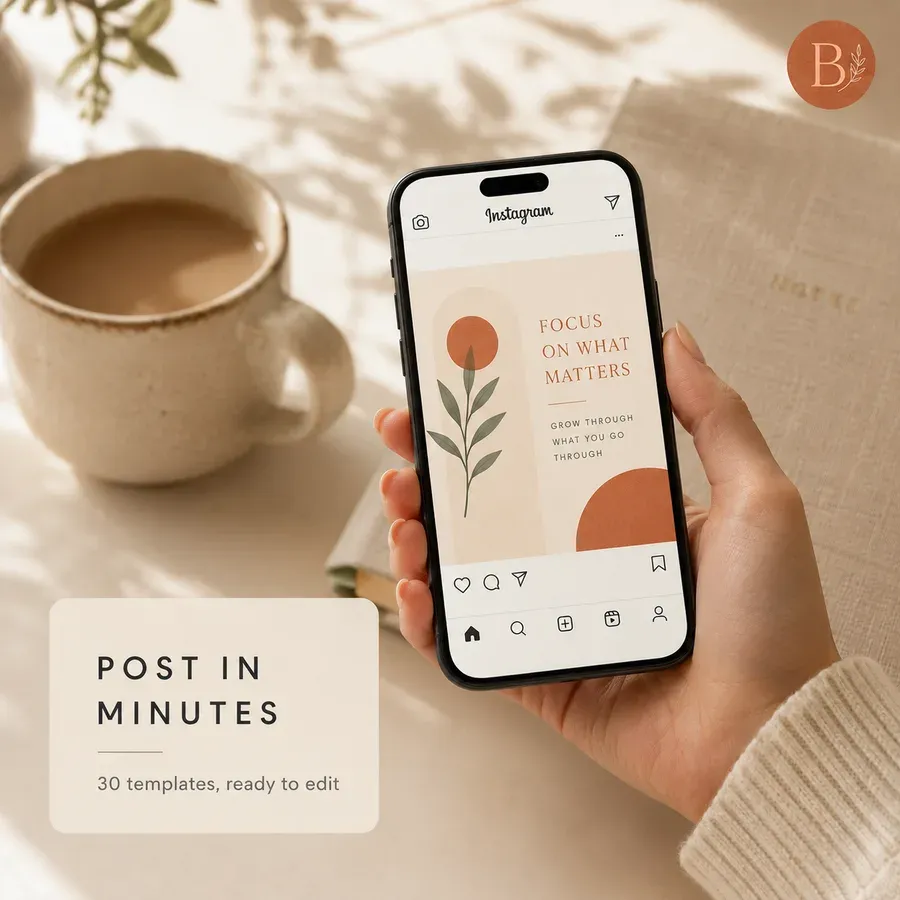
A digital product can be brilliant and still look underwhelming as a flat file on a screen. An ebook cover shown as a lonely JPEG, a planner reduced to one page, or a template pack represented by a folder icon asks the buyer to imagine too much.
A good mockup closes that gap. It turns an invisible download into something a person can understand at a glance: a workbook open on a tablet, a template displayed on a laptop, or a collection of printable pages arranged as a useful bundle.
The goal is not to make the product look physical when it is not. The goal is to make its format, contents and use obvious. In this guide, you will learn how to make digital product mockups, choose the right presentation for different downloads, and create a reusable image workflow with Custom Mockup Generator.
What is a digital product mockup?
A digital product mockup is a visual preview that places a digital file in a realistic or explanatory context. Instead of displaying a raw PDF cover, screenshot or template page, the mockup shows how someone might experience it: on a laptop, tablet, phone, e-reader, printed page or coordinated listing graphic.
The phrase covers two related types of image:
- In-context mockups place the design on a device or object. Think of an ebook on an e-reader, a dashboard on a laptop, or an invitation design beside an envelope.
- Informational listing images explain what is included, how it works, which formats the buyer receives, and what software they need.
Most strong listings use both. A styled device shot can create desire, but it rarely explains the entire offer. An information card can answer questions, but it may not help the buyer picture the result. Together, they turn a vague download into a product that feels considered and easy to use.
A mockup should clarify, not disguise
Digital-product sellers have one special responsibility: the image must not imply that a photographed device, frame, book or printed item will arrive in the mail.
That is good marketing practice as well as a trust issue. The US Federal Trade Commission says advertising must be truthful and not misleading, whatever medium it appears in. A simple label such as Digital download — no physical item will be shipped can prevent a beautiful lifestyle image from creating the wrong expectation. See the FTC's truth-in-advertising overview for the underlying principle.
If you sell on Etsy, choose the digital-file listing type and make the delivery format clear. Etsy currently distinguishes instant downloads from made-to-order digital downloads and explains the file limits in its guide to managing digital listings.
Choose the right mockup for your digital product
The best mockup is not necessarily the most dramatic one. It is the image that answers the buyer's next question. Start with the product type, then choose a context that makes its use and scale easier to understand.
| Digital product | Useful mockup format | What the image should prove |
|---|---|---|
| Ebook or PDF guide | Book, e-reader or tablet | Cover, topic, approximate length and reading experience |
| Printable planner or workbook | Open notebook, page spread or desk scene | Page variety, writing space, dimensions and print-at-home format |
| Canva or social media templates | Phone, tablet or laptop plus a template grid | Number of designs, editable areas and intended platform |
| Online course | Laptop or tablet with a module overview | Lesson structure, included resources and learning format |
| Notion or spreadsheet template | Laptop screen plus close-up screenshots | Dashboard structure, useful views and editable fields |
| Presets, filters or LUTs | Honest before-and-after comparison | The visual change, supported software and variation across images |
| Digital invitations | Card-style preview plus a clear digital label | Front and back design, editable details and download format |
| Fonts, icons or graphics | Specimen sheet and application examples | Character or asset range, style and likely uses |
There is no rule that an ebook must be shown as a three-dimensional hardback. If buyers will read it on a tablet, a device mockup may be more honest. If the product is a printable workbook, an open-page view can reveal the layout better than a closed cover. Match the context to the way the customer will actually use the file.
Ebook and PDF mockups
Use the cover as the visual anchor, but do not stop there. A buyer also wants to know what is inside. Pair a book cover mockup generator image with a contents page, one or two interior spreads and a compact “what you get” card.
If the product is digital-only, avoid showing a thick printed spine unless the image is clearly marked as a visual preview. A tablet or e-reader often communicates the delivery format more accurately.
Printable planners, journals and workbooks
Printables benefit from a mix of views: one clean hero image, one open spread and one page overview. A notebook mockup generator can give the design context, while a flat grid shows the actual page variety without hiding it behind props.
Add the finished page size, orientation and file format directly to an information image. “A4 + US Letter PDF” tells the buyer far more than an attractive desk scene alone.
Templates, dashboards and online courses
For website themes, Canva packs, Notion systems, spreadsheets and courses, the screen is part of the product experience. A laptop mockup generator works well for wide dashboards or desktop templates. Use a phone or tablet view when mobile use matters.
Keep the interface large enough to read. A complicated dashboard placed on three tiny devices may look polished but prove nothing. One useful screen shown clearly is better than five decorative screens shown at postage-stamp size.
How to generate digital product mockups, step by step
You do not need Photoshop or a collection of PSD files. You do need a clean source image, a clear job for each listing image and a quick quality check before publishing.
1. Decide what the buyer needs to understand
Before opening a mockup tool, write down the facts a buyer cannot learn from the product title alone:
- What exactly is included?
- How many pages, templates, files or modules are there?
- Which file formats will they receive?
- What dimensions or ratios are included?
- Does it require Canva, Notion, Excel, Procreate or another app?
- Is it editable, printable, instant-download or made to order?
- Is a physical item included?
These answers become the plan for your image set. If “30 editable Canva templates” is the main value, that claim belongs on the hero image. If compatibility is the common source of confusion, give it a dedicated slide.
2. Prepare clean preview images
Export the artwork or screenshot at a useful resolution before generating the mockup. Crop away browser chrome and anything the buyer will not receive. Keep text away from the edge of a device screen or curved product surface, and match the source image's proportions to the chosen presentation where possible.
For a multi-page product, choose representative pages rather than trying to squeeze everything into one image. A cover, a typical interior page and a particularly useful feature usually tell a stronger story than a wall of twenty unreadable thumbnails.
Use your real product artwork. Placeholder copy, demo dashboards and stock screenshots can accidentally promise content that is not included.
3. Choose the mockup scene
Open the free mockup generator tools and choose a product or device that matches the download. For example:
- a laptop for dashboards, course portals and desktop templates;
- a book or tablet for ebooks and guides;
- a notebook or open page for planners and workbooks;
- a poster or frame for printable wall art;
- a card-style scene for digital invitations.
The scene should support the design, not compete with it. Neutral props and believable lighting are usually safer than a highly themed setting, especially when you plan to reuse the image system across several products.
4. Upload the design and set the presentation
Upload your exported design, select the relevant product and choose the placement or presentation options. Start with a straightforward angle. A front-facing screen or three-quarter book view makes it easier to judge whether the artwork is aligned, legible and correctly cropped.
Generate the first result as a test rather than treating it as final. Check the relationship between the artwork and its context. Does the screen ratio make sense? Is the cover sitting within the edges? Has important copy moved behind a spine, bezel or prop?
5. Add the information layer
A mockup earns attention; information earns confidence. Add only the copy that helps the buyer make a decision:
- a short product title;
- the quantity included;
- a genuine feature such as “editable in Canva”;
- the format or dimensions;
- your brand mark;
- a clear digital-download notice where needed.
Avoid filling every empty area. The hero image needs one dominant message, not the entire product description. Move secondary facts to later images so each slide has a single job.
6. Check the result at thumbnail size
Zoom out until the mockup is roughly the size it will appear in a search result or social feed. Can you still identify the product? Is the main line readable? Does the artwork stand apart from the background?
Then zoom in and inspect the details. Look for warped type, missing borders, impossible shadows, clipped interface elements and invented content. If the mockup changes the actual design, regenerate or use a simpler presentation.
7. Export the right crop for the platform
Prepare a master image at high resolution, then crop copies for the marketplace, website or social channel where they will be used. Keep the product and headline inside a safe central area so a square thumbnail or mobile crop does not remove the important part.
For Etsy specifically, its current listing help says sellers can add up to 20 photos and two short videos and recommends listing images at least 2,000 pixels wide. Check Etsy's current listing guidance before exporting because platform requirements can change.
How to use Custom Mockup Generator
Custom Mockup Generator is built for sellers who need more than several angles of the same design. It lets you define the complete listing flow—the title, product image, contents, instructions, brand colours and logo—then reuse that structure for the next digital product.
Here is the simplest way to start:
- Choose one product. Pick a finished ebook, planner, course or template pack rather than a demo design.
- Create the first product visual. Use the relevant option in the free tools library to test the artwork in a realistic scene.
- Describe the complete set. Specify the hero, what-is-included image, how-it-works image, compatibility card and context shot you want.
- Set consistent brand rules. Keep the logo, colour palette, type treatment and labels in the same positions across the set.
- Review every claim. Make sure quantities, formats, software badges and on-screen content match the files you deliver.
- Reuse the flow. When the next product is ready, run its artwork and details through the same structure instead of rebuilding every listing image.
This distinction matters. A bulk tool can produce five attractive laptop images, but you still have five versions of one job. A complete listing needs different images to answer different questions. Custom Mockup Generator is designed around that full sequence.
A useful prompt or brief for the image set
Whether you are describing the set to a tool, a designer or yourself, make the brief concrete:
Create a square listing set for a pack of 30 editable social media templates. Use a warm cream background, dark green type and a small logo in the lower-right corner. Make image one the hero with the quantity and Canva compatibility. Image two shows a readable template grid. Image three explains the three editing steps. Image four lists the included ratios. Image five shows one template on a phone in a simple desk scene. Add “digital download” to the informational images.
The point is not elaborate wording. It is assigning one clear job to each image and stating the facts that must remain accurate.
Build a complete digital product listing image set
One mockup rarely answers every buying question. A more useful set leads someone from recognition to understanding in a deliberate order.
Image 1: the hero
Show the product category, strongest benefit and one proof point. “2026 budget spreadsheet — monthly dashboard + debt tracker” is more informative than “Take control of your future.” Keep the artwork large and the supporting copy short.
Image 2: what is included
Lay out the contents as a readable grid or list. Show actual page or template thumbnails where possible. State the number of files, pages, designs, presets or modules without making the buyer count tiny previews.
Image 3: a closer look
Choose the feature that does the most work: an interior workbook spread, a dashboard view, an editable invitation field or a course lesson. This is where the buyer decides whether the product is genuinely useful rather than merely attractive.
Image 4: how it works
Explain the shortest path from purchase to use. For example: purchase, download the PDF, open the Canva link, edit and export. Three or four steps are normally enough. If the workflow needs a long paragraph, place the details in the description or an included instruction file.
Image 5: formats and compatibility
List the file types, page sizes, aspect ratios and required applications. Be precise about whether a free or paid software account is needed. Do not use a platform logo as a vague decoration; use it to communicate an actual requirement or supported workflow.
Image 6: an in-context mockup
Now help the buyer picture the product in use. Show the planner on a tablet, the wall art in a room or the course workbook beside a laptop. Keep the “digital download” message visible if the context could be mistaken for a physical item.
Image 7: terms or important limits
If the license, personalization process or return policy materially affects the purchase, summarize it in plain language and link or point to the complete terms. This image should clarify, not bury the buyer in small print.
You may need fewer or more images. The sequence is a decision framework, not a mandatory template. Remove any slide that repeats information without adding confidence.
What makes a digital product mockup look realistic?
Realism is less about dramatic shadows and more about visual consistency. The design, device, lighting and surrounding information should feel as if they belong to the same image.
Correct perspective and proportions
A screen should follow the angle of the device. A book cover should wrap naturally around the visible edge. A printable page should keep the proportions of the file the buyer receives. If a US Letter worksheet is stretched to look like A4, the mockup may quietly misrepresent the layout.
Believable light and texture
Artwork placed on a glossy screen should pick up some of the scene's light; a paper preview should not look self-illuminated. At the same time, do not let texture or glare make the real design hard to inspect. The buyer is evaluating the file, not the photography trick.
Readable type
Treat listing images as mobile-first. Use fewer words, stronger contrast and larger type than you would in a PDF page. If an interface contains important text, show a closer crop rather than expecting a buyer to pinch and zoom.
Consistent branding
Repeated colours, typography, spacing and logo placement make separate images feel like one system. Consistency also speeds up production: once the structure is set, each new product requires new content rather than a new visual language.
Accurate contents
This is the most important part. If the product includes 24 templates, do not show 30. If a font or app is not included, do not let the image imply that it is. If a photographed frame is only a presentation device, say so. The mockup should reduce uncertainty, not create it.
Common digital product mockup mistakes
Making the product look physical
A printable shown in a beautiful frame can look like framed art for sale. An ebook rendered as a hardback can look like a shipped book. Add a visible digital-download label and repeat the delivery format in the listing title or description.
Showing only lifestyle images
Atmosphere is useful, but buyers still need to inspect the content. Include at least one clean, front-facing or flat presentation where the actual design is easy to judge.
Cramming the whole offer into the hero
Too many badges, device screens, arrows and lines of copy flatten the hierarchy. Give the hero one message, then let later images explain the details.
Repeating the same scene
Five device angles may look like variety while answering the same question five times. Use each image for a different job: recognition, contents, proof, process, compatibility and context.
Using tiny, illegible screenshots
If the buyer cannot read the dashboard or template at listing size, the screen is decoration. Crop closer, use a magnified detail or separate the key feature into its own image.
Hiding compatibility requirements
Do not make buyers discover after purchase that they need a particular app, account level, font or device. Put essential requirements in a listing image as well as the description.
Letting the mockup alter the design
Generative tools can invent small labels, replace type or change an interface. Compare the result with the source file before publishing. The final image must represent what the customer receives.
Forgetting commercial-use rights
Use devices, scenes, fonts, icons and stock elements that you have permission to use in commercial marketing. Keep licenses with your project records, especially when several people contribute assets.
Frequently asked questions
Do I need Photoshop to make digital product mockups?
No. Browser-based tools can place your design into product and device scenes without PSD files or advanced editing software. Start with the free mockup tools, then build a reusable listing flow in Custom Mockup Generator when you need a consistent set for several products.
What is the best mockup for an ebook?
Use the format that best matches how the buyer will read it. A tablet or e-reader is often the clearest choice for a digital-only ebook. A book cover presentation can still work as a visual metaphor, provided the listing clearly states that no physical book is included. Pair the cover with an interior preview and a contents image.
How many mockups should a digital product listing have?
Use enough images to answer the important buying questions without repetition. Many products can be explained well in five to seven images: hero, contents, close-up, process, compatibility, context and an important terms or format card. A simple one-page download may need fewer.
Can I use mockups for Etsy digital downloads?
Yes, but the visuals and listing information should make the delivery format clear and accurately represent the product. Etsy's current listing workflow asks sellers to identify the item as digital files and allows up to five downloadable files for an instant digital listing. Review Etsy's official help pages before publishing because policies and limits can change.
Should every listing image include “digital download”?
Not necessarily. Put it on the hero or any lifestyle image that could reasonably be mistaken for a physical product, and reinforce it in the listing details. Repeating it on one or two informational slides is often enough when the message is prominent.
Can I reuse the same mockup for several products?
Reuse the structure, not the inaccurate details. A consistent hero layout, contents card and how-it-works sequence can become a brand asset. Swap in the real artwork, quantity, compatibility and included features for each product. That is the repeatable workflow Custom Mockup Generator is designed to support.
What file should I upload to a mockup generator?
PNG or high-quality JPEG works for most flat artwork and screenshots. Use the clearest export available, match the target proportions, and keep important content away from edges or device notches. For transparent artwork, use PNG when the tool supports it.
Create your first digital product mockup
Start with one finished product and one honest question: what does the buyer need to see before this download makes sense? Choose a mockup that answers that question, add only the information needed to remove doubt, and check the result at both thumbnail and full size.
You can make that first image with one of the free mockup generators. When the presentation works, use Custom Mockup Generator to turn it into a complete, repeatable listing-image flow for every new ebook, template, printable or course you publish.
The strongest mockup is not the one with the most polish. It is the one that helps the right buyer understand the real product quickly—and feel confident that the download will do what the listing promises.